Digital Art Tools for Beginners: Brushes, Layers & Workflow
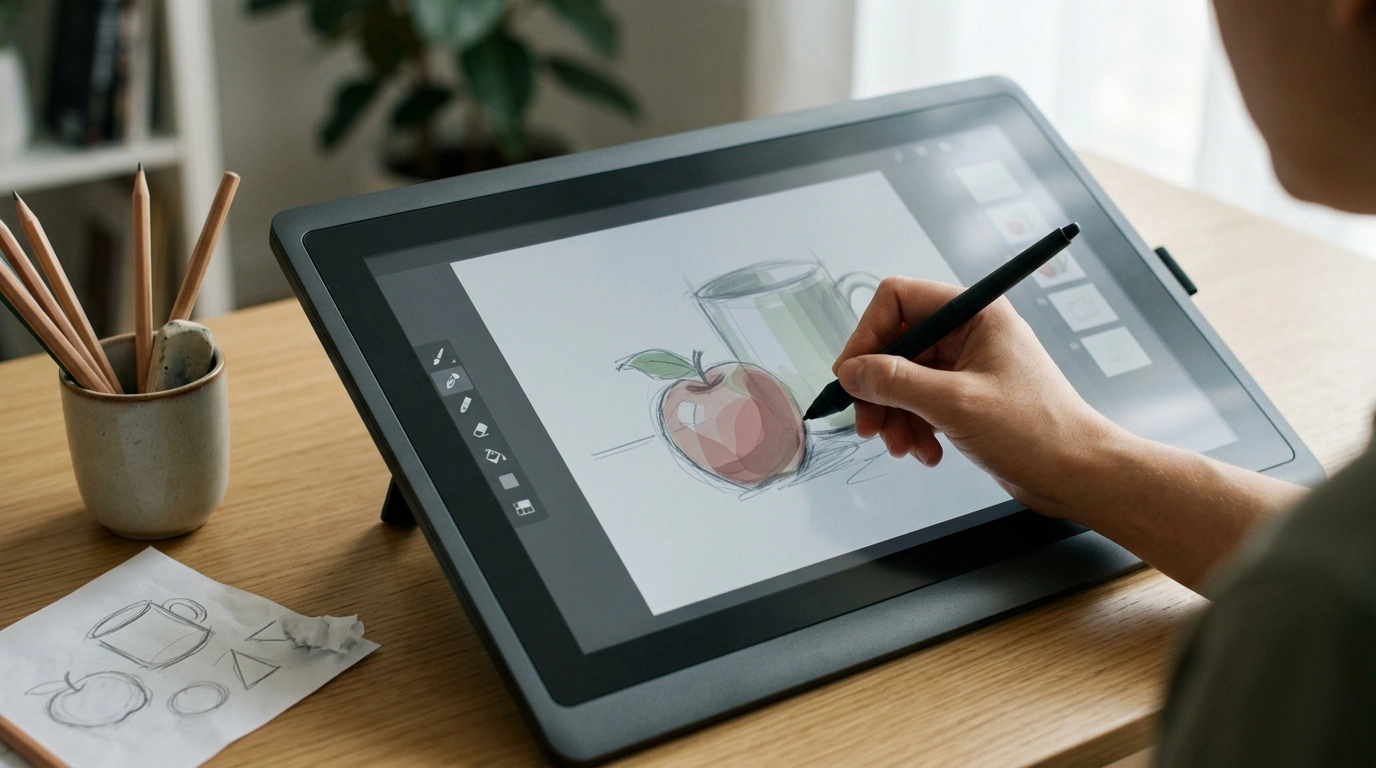
Master Your Canvas with Digital Art Tools: A Beginner-Friendly Guide to Getting Started
Digital art gets easier when the tools stop feeling mysterious. Instead of burning practice time guessing what sliders, brushes, and layers do, a simple toolkit and a repeatable workflow can carry you from shaky sketches to clean, confident pieces. The goal isn’t to learn every feature—it’s to understand the handful of tools you’ll use every session, so your attention stays on drawing and painting.
What makes digital art “click” for beginners
Most beginners improve faster by going narrow before going wide. When brushes, layers, selection tools, transform tools, and basic color/value controls make sense, progress becomes noticeably smoother.
- Core tools beat random features: Learning a small set deeply usually produces better results than hopping between dozens of settings.
- A consistent workflow reduces frustration: Sketch → refine → values/color → details → final adjustments keeps you moving forward even when a piece feels “off.”
- Tools matter when they solve real problems: Muddy colors, jagged lines, and messy edits are often tool-and-workflow issues—not talent issues.
What you’ll learn inside the ebook
If you want a clearer mental model of what your app is doing, the ebook Master Your Canvas with Digital Art Tools | Beginner-Friendly Ebook with Digital Art Tools Explained focuses on practical, plain-language explanations you can apply immediately.
- What common digital art tools are for (without jargon overload)
- How to set up a beginner-friendly workspace so your most-used tools are always within reach
- How to use layers, masks, and blending modes in a controlled, non-overwhelming way
- Guided practice ideas for muscle memory: line control, shading, color blocking, and cleanup
The essential toolkit, explained in everyday terms
Different apps label tools differently, but the fundamentals carry across Procreate, Photoshop, Krita, and most drawing programs. If you want official references for your specific app, these manuals are helpful: Adobe Photoshop User Guide, Procreate Handbook, and Krita Manual.
Brushes
Brushes are more than a “shape.” Start by understanding size, opacity/flow, and hardness (soft vs. sharp edges). Pressure sensitivity helps strokes feel natural, and stabilization can reduce wobble when you’re building line confidence—just avoid turning it so high that lines feel stiff.
Erasers
An eraser is basically a brush that removes pixels. A hard-edged eraser is great for crisp cleanup; a soft eraser is better for gradual fades and gentle corrections. Many artists keep a small hard eraser and a large soft eraser ready at all times.
Layers
Layers are stacked sheets. They let you adjust one part without repainting everything. Grouping and naming layers early prevents the “Layer 27” problem. Features like locking transparency and clipping layers can keep shading neatly inside your shapes.
Selections and transforms
Selections isolate an area so you can paint, fill, or adjust without spilling over edges. Transform tools resize, rotate, and nudge shapes—perfect for proportion fixes. Used well, they save hours of repainting.
Color tools
Color becomes easier when you separate value (light/dark) from saturation (intensity). Many “dull” paintings happen when values are too similar or when saturation is pushed everywhere. A simple palette and clear light/shadow plan can do more than endless color picking.
Common digital art tools and what they help with
| Tool | Best for | Beginner pitfall | Quick fix |
|---|---|---|---|
| Layers | Non-destructive edits and organized painting | Too many layers with unclear names | Name layers early (Sketch/Line/Color/Shadows) and group them |
| Brush stabilization | Smoother lines and cleaner inking | Over-smoothing that makes lines feel stiff | Use just enough stabilization to reduce wobble, then lower it for detail work |
| Selection tools | Clean edges, quick recolors, controlled shading | Visible seams or harsh cutouts | Feather slightly or refine edges before filling/shading |
| Clipping masks | Shading/highlights inside a shape without spilling | Confusing masks with layer opacity | Clip shading layers to the base color layer and keep values separate |
| Blending modes | Fast lighting and color effects | Random mode switching without understanding | Start with Multiply (shadows) and Screen/Add (lights) and adjust opacity gently |
A simple workflow to practice with any app
When you’re learning, consistency beats complexity. Try repeating this same sequence for studies and small illustrations:
Choosing a brush set without getting lost
Setting up your workspace for faster learning
Who this ebook is best for
How to use the ebook for steady progress
Get the ebook
If you want a quick-reference guide you can keep open while drawing, Master Your Canvas with Digital Art Tools | Beginner-Friendly Ebook with Digital Art Tools Explained is available in digital format for $21.99 (USD) while in stock.
For a small, style-forward add-on that pairs nicely with creative downtime (or makes an easy gift), consider Exaggerated Leaf Stud Earrings – Trendy Geometric Design.
FAQ
Do you need an expensive tablet to start digital art?
No. Many beginners start on entry-level tablets (or basic stylus devices) and improve quickly by focusing on fundamentals like brush control, layers, and values, plus consistent practice.
What are the most important digital art tools to learn first?
Start with brush basics (size and opacity/flow), layers, selections/transform, and simple value/color controls. Small exercises—like line drills, shading spheres, and flat-color studies—teach these tools faster than jumping into large, complex pieces.
How do layers and clipping masks differ?
Layers are stacked “sheets” that hold your artwork separately, while a clipping mask restricts what you paint on one layer to the visible pixels of another. For example, paint a character’s base color on one layer, then clip a shadow layer above it so shading never spills outside the character shape.














Leave a comment